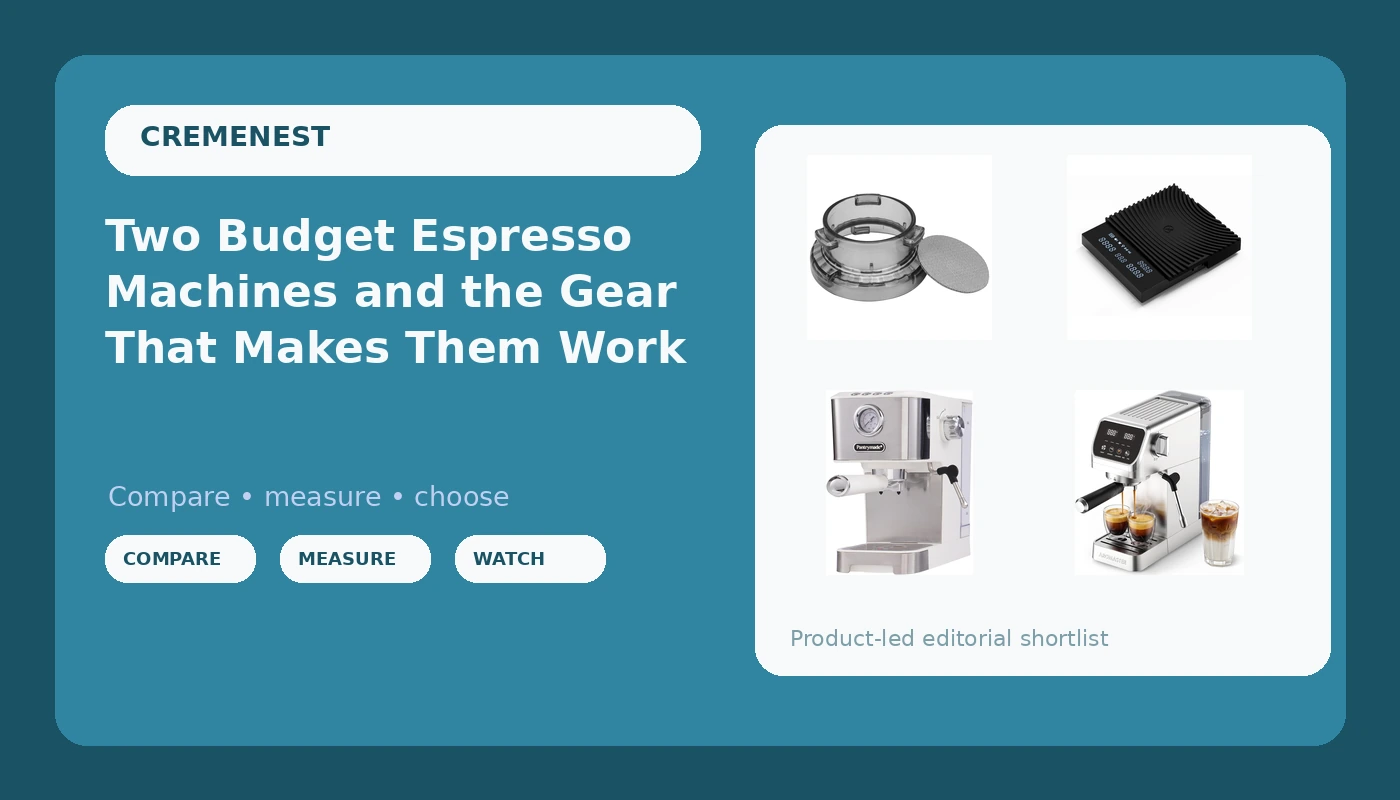
I have pulled somewhere north of 40,000 shots in twelve years, first behind a third-wave bar in Seattle and now in a garage that has slowly become a machine graveyard, and I still get the same question at every dinner party: which cheap espresso machine should I buy? My answer is annoying, because the machine is rarely the whole answer. A budget espresso machine setup is a system, and the two machines and two accessories below are an honest picture of what that system looks like at the entry level in 2026.
Here is what I tell people before they spend a dollar. The machine sets the ceiling, but the scale and the prep tools decide whether you ever reach it. A modest machine with a good scale and a level bed of coffee will out-drink an expensive machine with a bathroom scale and a sloppy basket every single time. That is not a slogan. It is just what happens once you can finally measure what you are doing.
The best budget espresso machine setup for most people pairs the Pantrymade 20 Bar Espresso Machine with the TIMEMORE Black Mirror Basic 3.0, because a gauge on the machine and a timer with flow rate on the scale give you two pieces of feedback that beginners almost never get. The Aromaster is the right call if your counter is tight and your budget is tighter. The dosing funnel is the cheapest upgrade on this list and the one most people skip. All four are worth understanding before you commit.
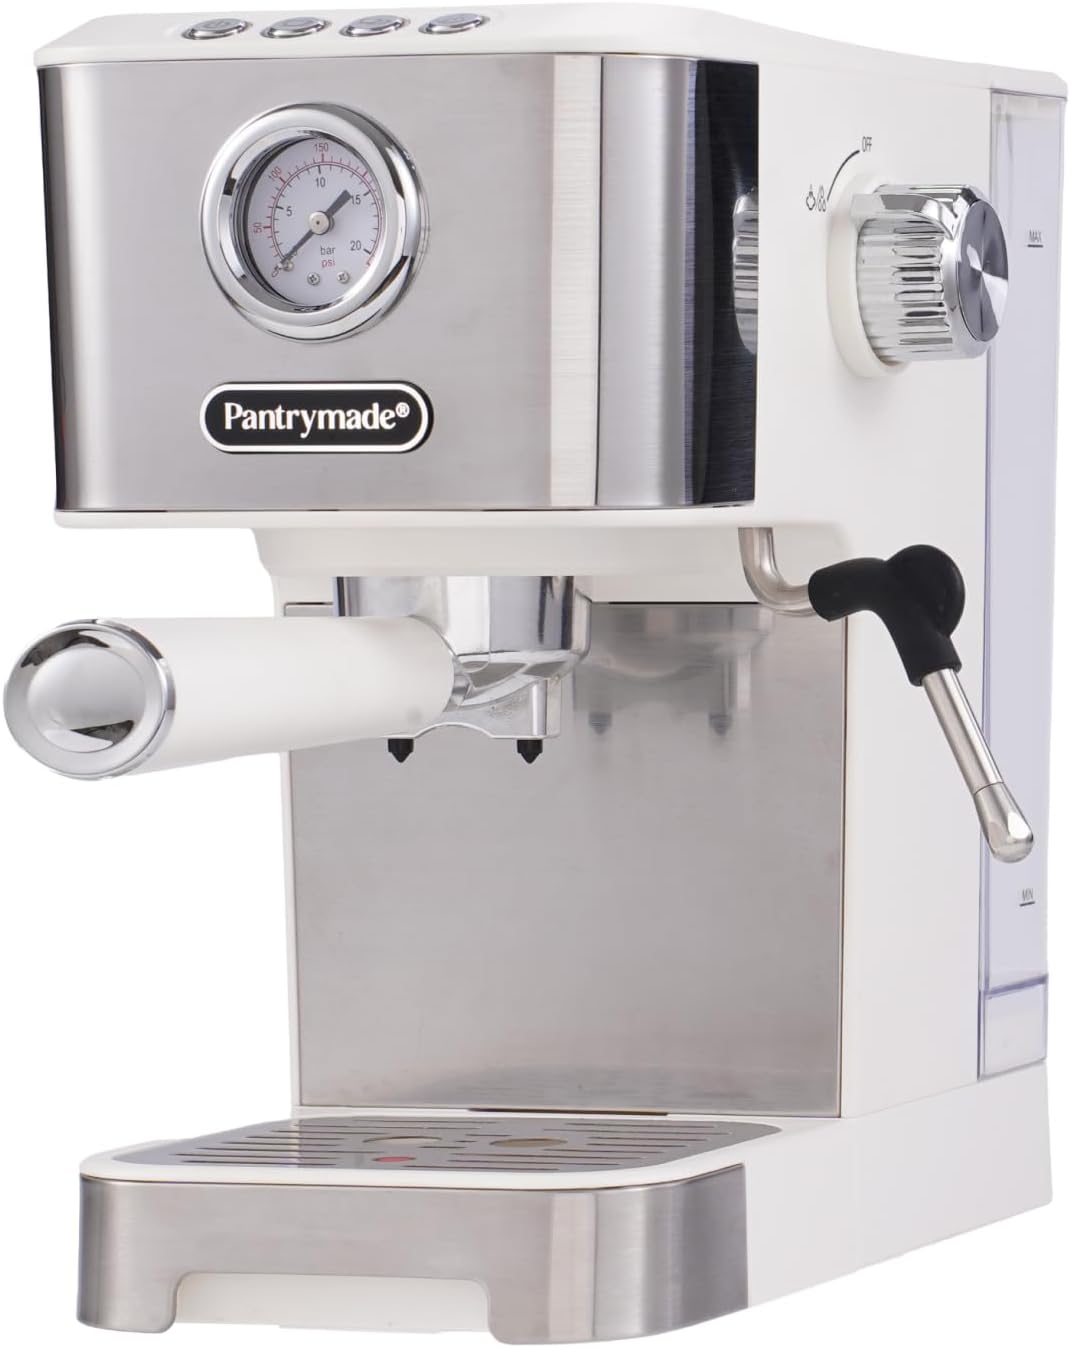
Pantrymade 20 Bar Espresso Machine with Milk Frother and Pressure Gauge
The only machine here with a pressure gauge on the panel, plus a 20 bar pump rating and a frother
A gauge tells you what happened, not what to fix; milk texture still depends on your hands
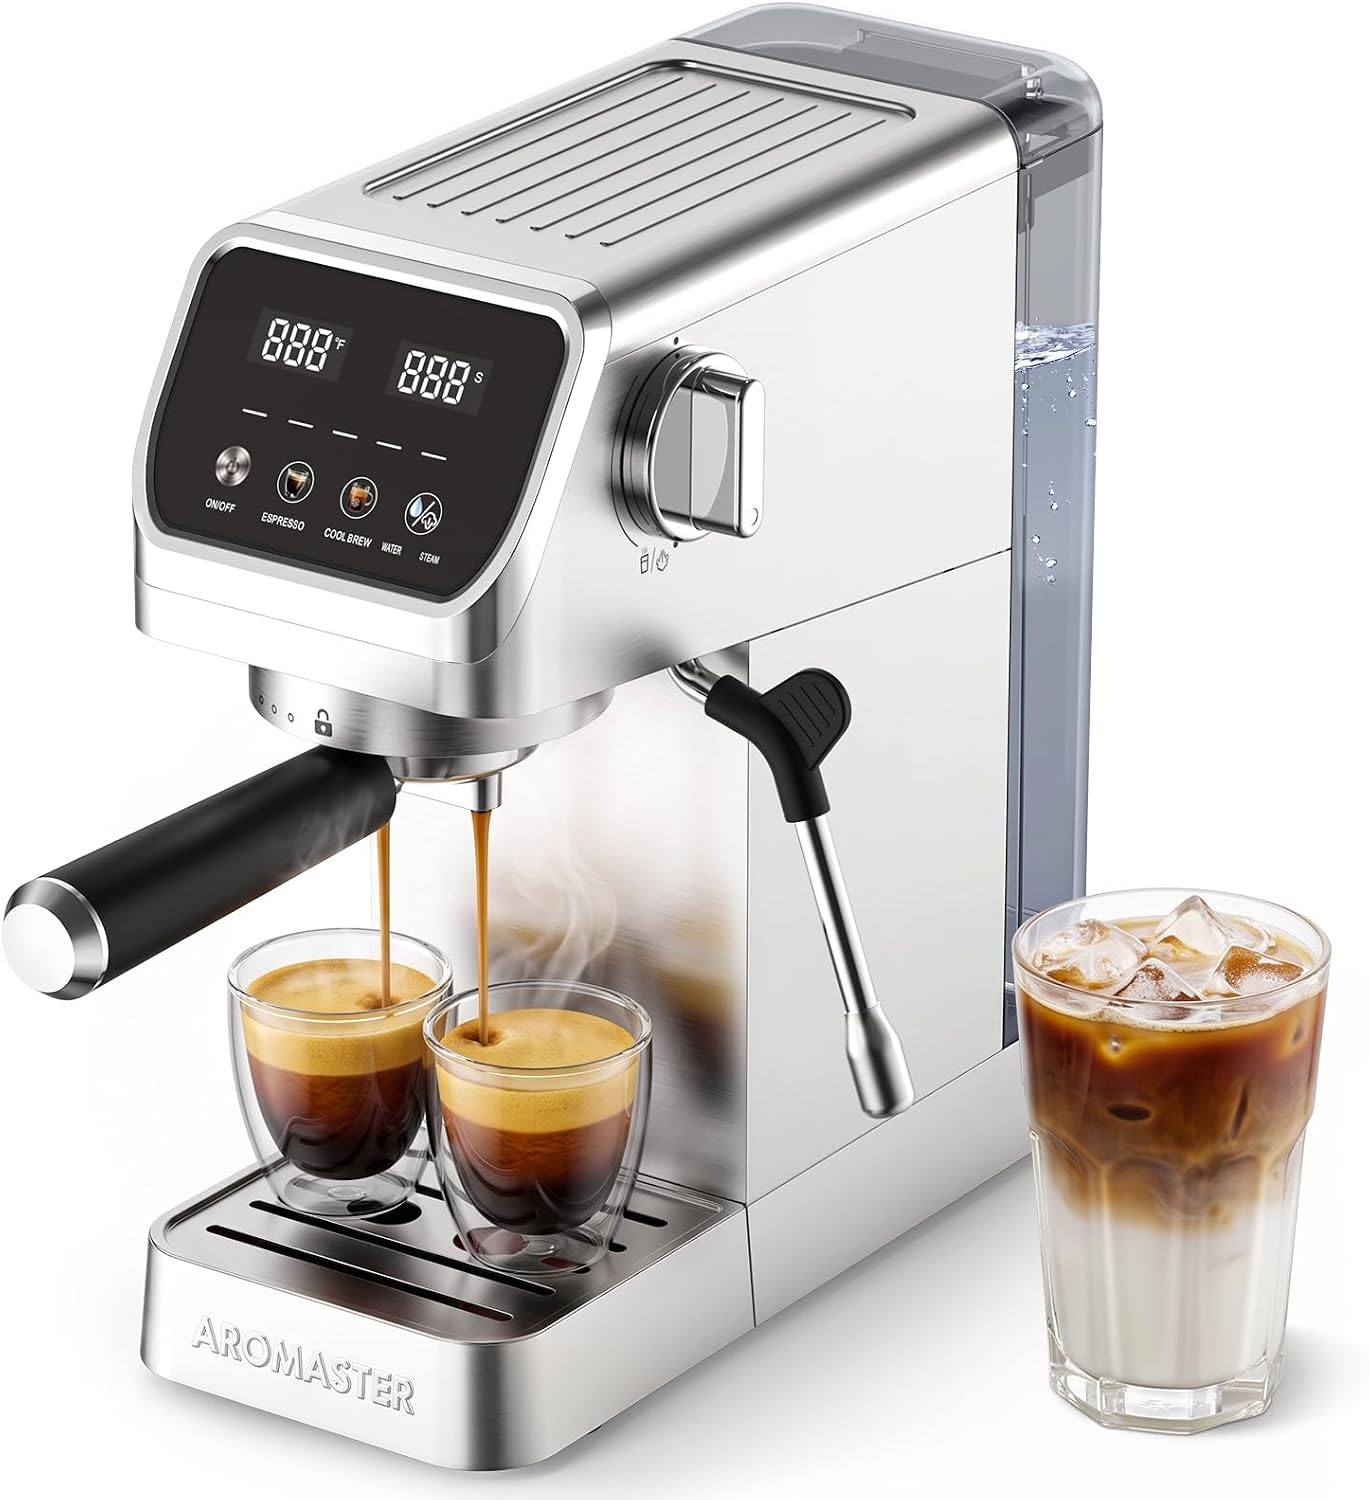
Aromaster 1400W Espresso Machine with Milk Frother, Stainless Steel
1400W heating and a stainless steel body, which usually means quicker recovery between shots
No pressure gauge, so you are reading the shot by taste alone until your palate catches up
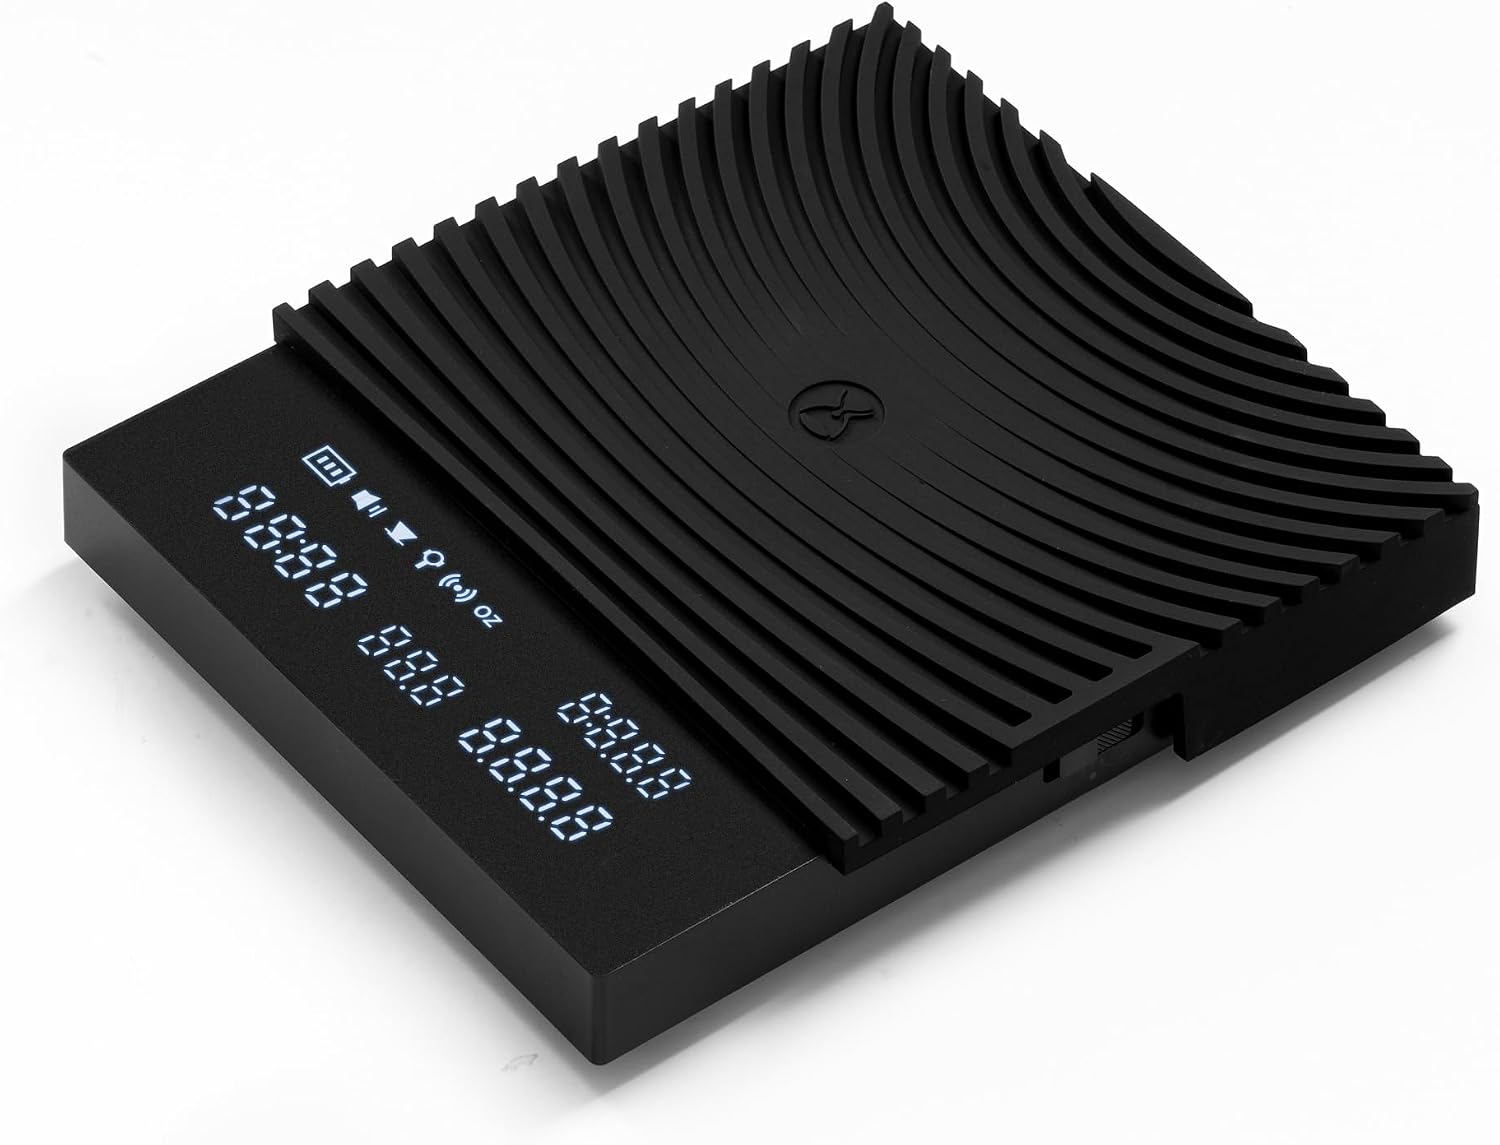
TIMEMORE Black Mirror Basic 3.0 Coffee Scale
0.1g resolution, a timer, flow rate and brew ratio readouts, three brewing modes, rechargeable
One more thing to charge, and one more thing living on an already crowded counter
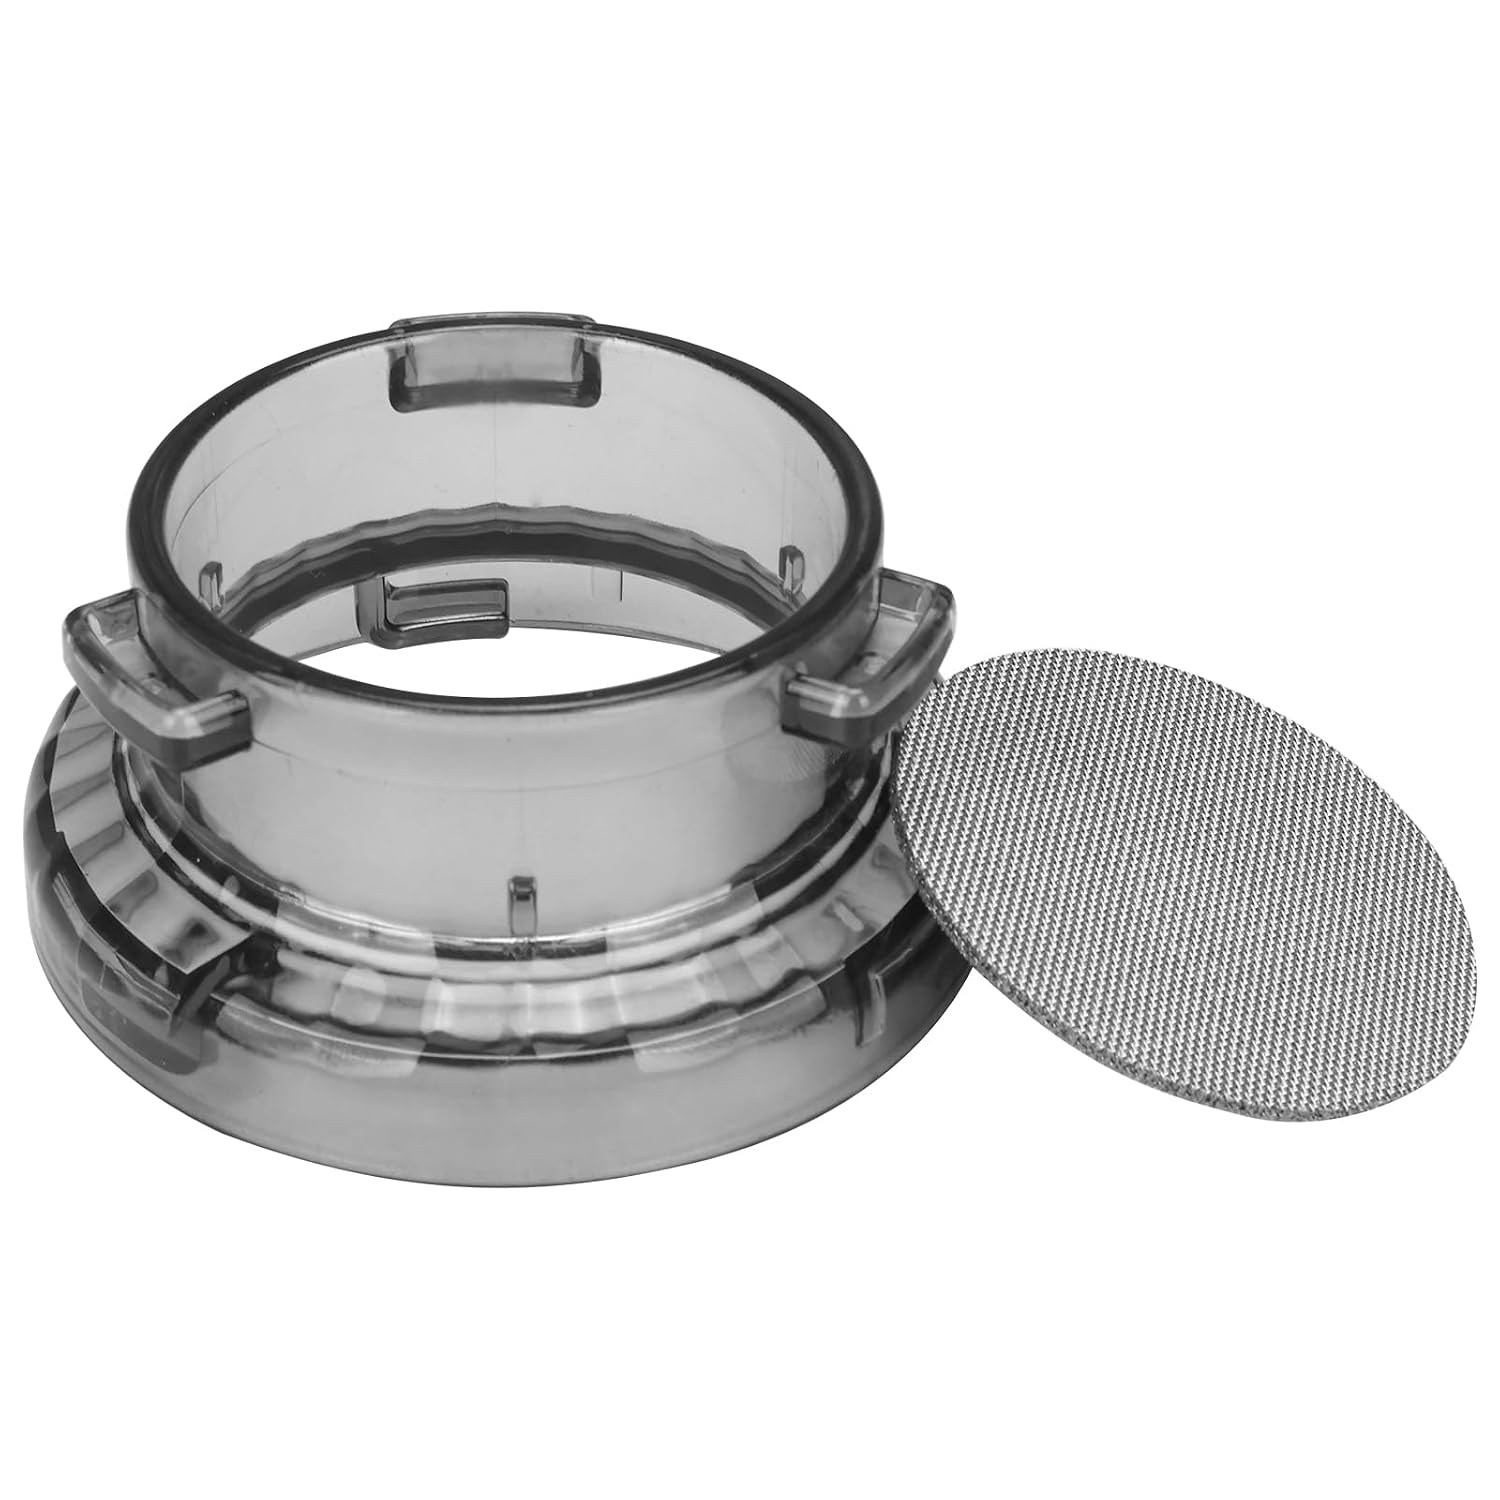
54mm Espresso Dosing Funnel and Puck Screen Compatible with Breville Barista
54mm fit for Breville Barista baskets, keeps grounds off the counter and the shower screen cleaner
54mm only, so it is dead weight if your machine takes a 58mm basket
Prices and availability were captured from Amazon Creators API and may change.
How I judge a machine at this price
After twelve years and a garage full of dead machines, I ask the same four questions about anything in this bracket. What is the actual brew setup, not the marketing? Does it hold temperature across a single shot? How long is the dead time between brewing and steaming? And would I still enjoy using it in month three?
The honest answer to the first question at this price is usually a thermoblock and a vibration pump, and that is genuinely fine. A thermoblock heats fast, which matters at 6:30 in the morning when you have exactly four minutes before a call. What it does not do is hold a rock-steady brew temperature the way a saturated group does. You manage that with a short flush and by not pulling six shots back to back, and you accept the compromise because you paid entry-level money.
The bar rating on the box is the number people stare at and the number that matters least. A 20 bar pump rating does not mean the machine brews at 20 bar. Almost nothing brews well above 9 bar, and a machine that ships pushing higher usually wants a coarser grind and a gentler touch to keep the shot from turning bitter. What you actually want is repeatability shot to shot. That is the only spec I care about, and it is the one nobody prints.
Pantrymade 20 Bar: the one with the gauge
The Pantrymade 20 Bar Espresso Machine is the pick of this pair for one reason: the pressure gauge on the front panel. If you are learning, watching a needle move during a shot teaches you more in a week than a month of forum reading. You start to see what channeling does to the ramp. You learn what a grind that is too fine does to the curve. And you stop blaming the beans for everything.
The frother is included, and I want to set expectations rather than sell you on it. At this price, a built-in frother is a convenience feature. It will aerate milk and make you a decent cappuccino. It will not texture milk the way a commercial steam tip does, and it will not give you the glossy microfoam you see in a cafe, at least not on your first fifty attempts. That is a technique problem as much as a hardware one, and technique is free.
What the gauge cannot do is tell you what to change. It shows you the result of your prep, not the cause. You still have to weigh your dose, distribute the bed, and adjust the grind one notch at a time. Buy the gauge because it shortens the feedback loop. Do not buy it expecting it to pull the shot for you.
Aromaster 1400W: stainless steel and quicker recovery
The Aromaster 1400W Espresso Machine takes the opposite approach. There is no gauge, so all your feedback comes from taste and from the scale. What you get instead is 1400W of heating power and a stainless steel body, which in this class generally means the machine comes back up to temperature faster between shots and between brewing and steaming.
For someone making one drink in the morning, that difference is invisible. For someone making two or three drinks back to back while a partner waits, it is the difference between a smooth rhythm and standing there watching a light blink. Higher wattage is not a marketing number the way bar ratings are. It is thermal recovery, and thermal recovery is what you feel every single morning.
The stainless steel body matters for a less glamorous reason: it wipes clean. Entry-level plastic housings pick up coffee oils, milk splatter, and a permanent dull haze by month six. If you care about how the thing looks on your counter in two years, that is worth real money.
The TIMEMORE scale: the cheapest thing that changes your coffee
If you take one recommendation from this article, take this one. The TIMEMORE Black Mirror Basic 3.0 is the piece of gear that will change your coffee more than either machine, because it turns espresso from a vibe into a measurement.
Start with the resolution. A 0.1g scale matters because a half-gram error on an 18-gram dose is nearly three percent of your coffee, and three percent is enough to move a shot from balanced to sour. Kitchen scales that read in 1g increments cannot see that. They round away the exact information you need.
Then there is the timer and the flow rate readout. Espresso is a ratio and a clock: dose in, yield out, time elapsed. The scale gives you all three in one place, and the flow rate readout is the honest one, because it shows you whether the shot is running evenly or stalling halfway through. Three brewing modes and a brew ratio readout mean you can set a target and chase it rather than guessing. And it is rechargeable, which sounds trivial until you have replaced coin cells four times in a year on a scale that was supposed to save you money.
The trade-off is real and I will not pretend otherwise. It is another device to charge, another thing taking up counter space, and another step between you and caffeine. But of everything on this list, it is the one that makes the next hundred shots better.
The 54mm dosing funnel and puck screen
The 54mm dosing funnel and puck screen is the unglamorous purchase, and it fixes the most common beginner problem: a messy, uneven bed of coffee.
A funnel sits on the basket while you grind and stir, so grounds land in the basket instead of on your counter and your drip tray. That is the small win. The bigger win is that a funnel lets you distribute properly without spilling, which means a more level bed, which means fewer channels where water punches through the puck instead of saturating it. Channeling is the reason a shot tastes sour and bitter at the same time, and it is almost always a prep problem, not a machine problem.
The puck screen is a thin mesh disc that sits on top of the coffee. It keeps the shower screen cleaner, which means less scrubbing and less stale oil building up in the group, and it gives the water a more even path into the puck. It is not magic and it will not rescue a bad grind.
The important caveat: this one is sized at 54mm and built for Breville Barista baskets. If your machine takes a 58mm basket, this will not fit, and no amount of cleverness will make it. Buy the size that matches your portafilter or skip it entirely.
What the workflow actually looks like
Weigh your beans on the scale. Grind into the basket with the funnel in place. Stir, level, tamp. Place the puck screen. Lock in, put the cup on the scale, zero it, and start the timer as you hit brew. Watch the flow rate readout. Stop at your target yield. That is it.
The machine you choose changes how pleasant that loop feels. The Pantrymade adds a gauge so you can see the pressure curve while it happens. The Aromaster adds recovery speed so back-to-back drinks do not stall. Neither changes the loop itself. The scale and the funnel do, because they are what make the loop repeatable.
Trade-offs: who should skip which piece
Skip the funnel if you own a 58mm machine. Skip the TIMEMORE if you already own a 0.1g scale with a timer, because the upgrade is convenience, not capability. Skip the Pantrymade gauge if you are the kind of person who learns by taste and gets impatient with instruments. Skip the Aromaster if you make four milk drinks every morning, because no single-boiler-class machine at this price is built for that rhythm, and you will be happier saving for something with more steam capacity.
And if you are choosing between upgrading the machine and buying any of these accessories, buy the accessories first. Every one of them makes the machine you already own perform closer to its ceiling.
What I would buy first
The uncomfortable truth is that neither of these machines includes a grinder, and the grinder is where the shot is actually decided. I have said this for years and I will keep saying it: a mid-priced machine with a real burr grinder beats a premium machine fed by pre-ground coffee, every time, without exception.
So here is the order I would spend in. Scale first, because measurement changes everything downstream. Dosing funnel second, because prep is where most bad shots are lost. Machine third, and pick the Pantrymade if you want the gauge or the Aromaster if you want the wattage and the stainless body. Then put every remaining dollar into the grinder, because that is the upgrade you will taste in the cup rather than read about on the box.
Start with the workflow you will actually keep. A setup you use every morning at 6:30 beats a setup you admire on weekends.