Most espresso machines do not die of old age. They die of old milk, hard water, and a shower screen nobody has looked at since the day the box was opened. If you want to know how to clean an espresso machine in a way that actually changes what lands in the cup, the answer is not a heroic deep clean twice a year. It is a five-minute daily habit plus one longer session a month, done in the right order, with tools thin enough to reach the places a sponge cannot.
I have pulled something north of 40,000 shots in my life, first behind a bar in Seattle and now setting up home espresso stations for other people. I have watched a dual boiler die in eighteen months because nobody rinsed the group, and I have watched a modded Gaggia from the mid-2000s keep pulling because its owner was boringly consistent about the small stuff.
Here is the routine, the two things I keep on the counter for it, and the shortcuts that will cost you a machine.
Why you should trust me
Twelve years as a barista, most of it managing a third-wave coffee bar, then out on my own doing home espresso consulting. I have set up stations for friends, for family, and for two cafes that are still running.
My garage is a machine graveyard. There is a Breville that leaked from a dried-out gasket, a Gaggia I modded into something unrecognizable, and an ECM that is still going because it gets treated like a machine instead of a decoration. The failure pattern is boringly consistent: the units that die early belong to people who never rinsed anything until something tasted wrong.
One thing to get straight before we start. Cleaning is the third priority, not the first. Grind quality and water come first, every time. A spotless machine full of stale beans and tap water makes bad coffee. Cleaning is what stops a good setup from drifting away from you.
How I picked these two tools
This is not a shootout. It is a maintenance kit for a workflow.
The machine has to be one you can actually live with: a reservoir you can pull out and wash, a group you can reach without a screwdriver, a steam wand you can wipe in one motion. The brush set has to be thin enough to get into a group gasket, stiff enough to knock dried milk out of a wand tip hole, and cheap enough that you leave it on the counter instead of burying it in a drawer.
I will not call anything a review until I have pulled thirty shots on the actual unit. What follows is not a review. It is a description of the workflow these two items fit into, plus the caveats that come with the category.
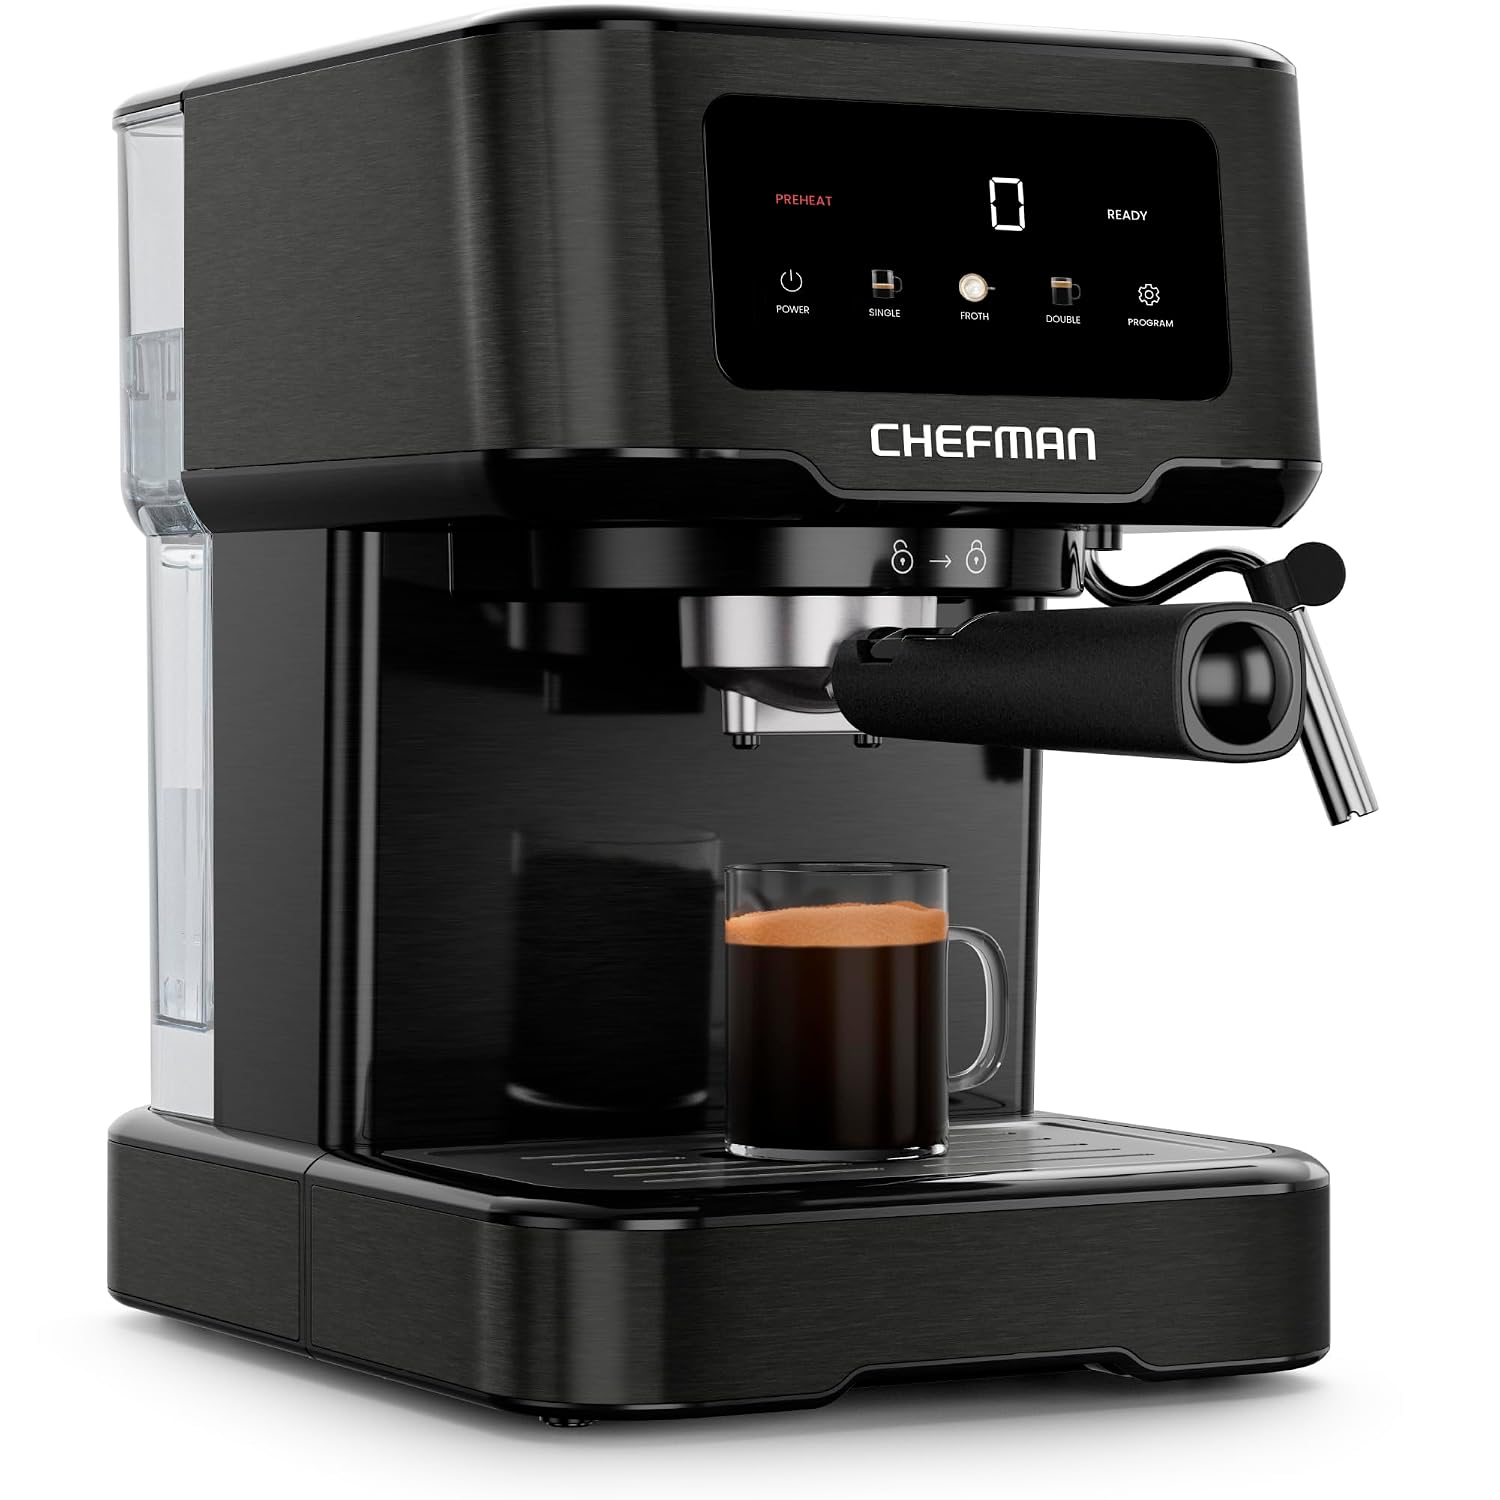
The machine: Chefman CraftBrew Espresso Machine, 15-Bar Pump Digital Espresso Maker w/Steam Wand for Latte & Cappuccino, Compact Espresso Coffee Machine w/ 1.5L Removable Water Reservoir - Stainless Black
 Visit on Amazon →
This is the class of machine most people start on, and it is the class this cleaning routine was written for. A 15-bar pump, digital controls, a steam wand for milk, a compact footprint, and a 1.5L removable water reservoir in a stainless black finish.
The reservoir is the part I care about most, and it is the part buyers ignore. Removable means you can carry it to the sink, wash the inside corners with a soft brush, let it dry completely, and refill it with filtered water. Machines with fixed tanks get rinsed in place, which means they get rinsed badly. If you take nothing else from this article, take that: the reservoir is where maintenance either happens or quietly stops happening.
On pressure, do not get hung up on the number on the box. A 15-bar pump is normal for this category, and the pressure that reaches the puck is governed more by your basket and your puck prep than by the spec sheet. What matters for cleaning is that the group is accessible and the wand is a real wand you can wipe down.
Flaws but not dealbreakers: Compact machines in this band usually ship with a pressurized basket, and a pressurized basket hides stale beans and a bad grind. Use it while you are learning if that is what you have, then move to a non-pressurized basket if the machine supports one. Also, treat a compact plastic-bodied machine gently: warm water, soft brush, nothing abrasive, no long vinegar soaks. Check current Amazon price.
Anyone building a first station on a normal kitchen counter, who wants a machine they can actually keep clean, is the right buyer here.
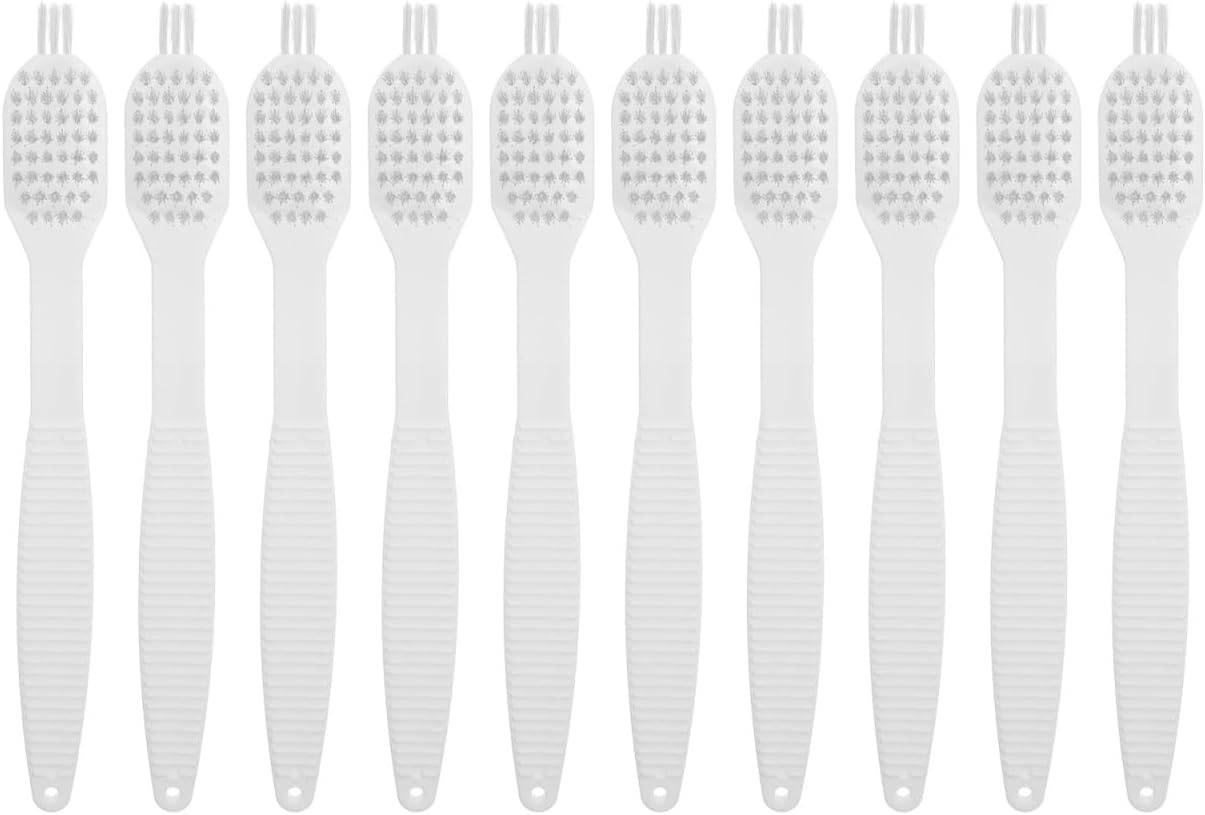
The cleaning kit: Unomor 10 pcs Juicer Cleaning Brush Set Flexible Slim Nylon Cleaning Brush for Soy Milk Machines Blender Corners Coffee Pot and Kitchen Appliance Deep Cleaning
 Visit on Amazon →
Ten pieces, slim and flexible nylon. The shape is the whole point. The underside of a shower screen, the seam of a group gasket, the four holes in a steam wand tip, the channel where a drip tray meets its lip: none of that is reachable with a sponge or a dish brush, and all of it is where old coffee oils and dried milk collect.
Ten brushes also means you can assign them. One for the wand tip, one for the group area, one for the reservoir and drip tray, one for the blender jar or the soy milk machine if you have one in the same cabinet. That sounds fussy until you realize the alternative is dragging the same grimy brush from the drip tray into the group and wondering why your shots taste like the bottom of a sink.
Flaws but not dealbreakers: Nylon softens with heat, so let parts cool before you scrub them, or you will splay the bristles on day two. Slim brushes are for edges and seams, not for backflushing and not for scrubbing a portafilter basket hard. Check current Amazon price.
Anyone with a machine, a blender, or a soy milk maker and a sink full of corners will use every piece in the set.
The actual cleaning workflow
Now the part you came for. This works on any home machine with a group, a wand, and a reservoir. Adapt the intervals to how much coffee you drink, not to what a manual printed.
Step one: purge after every shot. Run a blank shot of water through the group for three to five seconds. That flushes loose grounds out of the screen before they bake onto it. This is the single highest-value ten seconds in the whole routine.
Step two: knock, rinse, dry the basket. Knock the puck out while it is still warm, rinse the basket under hot water, and dry it with a cloth. Leaving a wet puck sitting in the portafilter overnight is how you get a basket that smells like a compost bin.
Step three: wipe and purge the steam wand immediately. Milk is the most destructive thing in your kitchen. Wipe the wand with a damp cloth the second you finish steaming, then purge it for a second to clear milk out of the interior. Dried milk inside a tip is the number one reason a wand starts sputtering instead of texturing properly. If milk has already dried on, soak the tip in hot water for a few minutes and use the thinnest brush in the set to clear the holes one at a time.
Step four: empty the drip tray and rinse the reservoir daily. Scale and old coffee both love standing water. Pull the reservoir, wash it, let it dry, and refill with filtered water. Rinse the drip tray before the residue turns into a film you have to scrape.
Step five: weekly, clean the shower screen and group gasket. Let the machine cool, then work the slim brush around the gasket seam and across the underside of the screen. Warm water is enough. Soap on the group is a mistake unless you can rinse it completely, and you usually cannot.
Step six: backflush only if your machine has a three-way solenoid valve. If it does, use a backflush disc and follow the manual. If it does not, skipping this step is not neglect, it is correct. Backflushing a machine without that valve just pushes water backward into places it was never meant to go.
Step seven: descale on a water-hardness schedule, not a calendar. The removable reservoir makes this easier, because you can fill it with descaling solution and run the cycle through the machine instead of improvising with a pitcher. If you are descaling every two weeks, your problem is not the machine, it is your water. Fix the water and the descaling interval stretches out on its own.
Step eight: brush out the grinder. The grinder is 70% of the shot, and it is also the appliance most people never open. Once a week, brush the burrs and the chute with a dry brush from the set. Do not run rice through it. Do not run those "grinder cleaning pellets" through a burr grinder you care about unless the manufacturer tells you to.
Step nine: leave the machine open to breathe. Portafilter out, drip tray dry, reservoir dry. Machines that sit closed and damp between sessions grow things.
A word on what not to do: no dishwasher unless the manual explicitly says so, no soaking wooden or plastic handles, no abrasive pads on stainless, no vinegar on aluminum parts. Gentle and frequent beats harsh and rare, every time.
The shortcuts, and why they lose
Vinegar as a universal descaler. It works on some scale and eats some metals and some plastics, and the people who use it everywhere eventually find out which. If you want one thing that is safe across the machine, buy a proper descaler and follow the ratio.
Rice through the grinder. It is abrasive, it does not clean oils, and it can jam a chute that was working fine. A dry brush is faster and safer.
The overnight puck. It sets like concrete, and the moisture it holds against the basket is what corrodes the finish.
The "it still works" test. A machine that has scaled up still produces water and still makes noise. It just produces worse coffee, and then one day it does not produce anything. By the time it fails, the repair is more than the maintenance ever would have been.
The pressurized basket as a permanent crutch. It is a legitimate starting tool, but it is not a long-term answer, because it hides exactly the grind problems you need to see in order to improve.
What this all costs
Time, mostly. Five minutes a day for purge, rinse, wand wipe, and the reservoir. Twenty minutes a week for the screen, the gasket, the drip tray, and the grinder. Half an hour a month for a descale, longer if you have never done one. That is the whole bill.
The two items above are the only purchases in this routine, and both are listed with current pricing on Amazon: check current Amazon price on the machine and check current Amazon price on the brush set. Compare either of those against a service visit or a replacement machine and the math stops being interesting.
What actually decides whether your machine lasts is not the price tag. It is whether you rinse the group on a Tuesday when you are late for work. Do the small steps daily, do the bigger ones monthly, and the machine you own today will still be pulling shots when you are ready to upgrade for reasons that have nothing to do with failure.
That is the job. Your machine was built to do this. Let it.