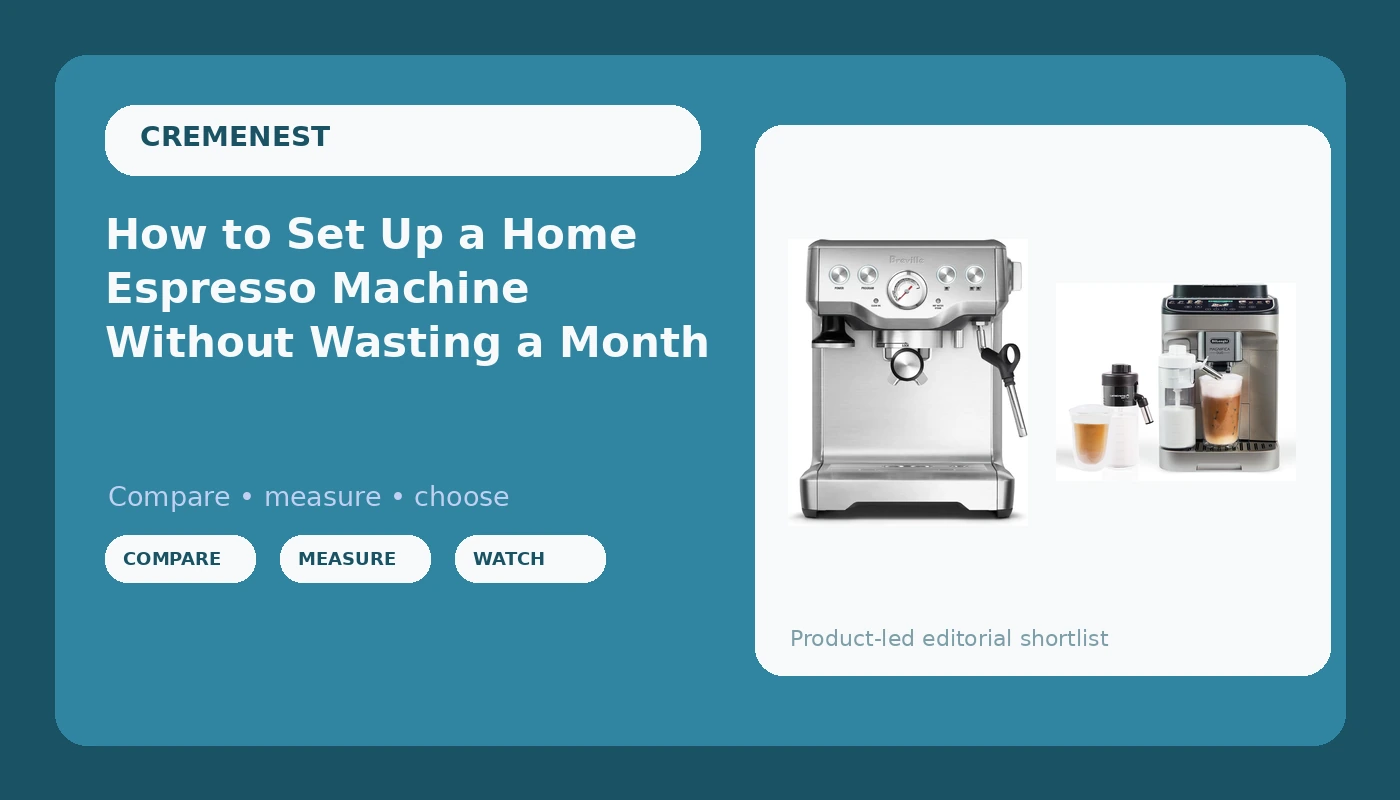
Most people buy the machine first. Then they buy a cheap blade grinder, load it with supermarket beans, and wonder why the shot tastes like burnt lemonade. Home espresso machine setup is a sequence, and the sequence does not start with the machine.
I have pulled shots behind a bar for twelve years and spent the last several setting up espresso stations for friends, family, and two cafes. My garage is a museum of wrong turns: the Breville that leaked, the Gaggia I modded until it barely resembled a Gaggia, the ECM that still runs. Every one of those machines taught me the same lesson from a different angle.
What follows is the order I would do it in today, starting from an empty counter. It covers what to buy before the machine, how to dial in once the machine lands, and which two machines cover most kitchens without making you regret the purchase by month three.
Why you should trust me
I managed a third-wave coffee bar before moving into home espresso consulting. Since then I have set up stations on apartment counters with four inches of clearance, in garages with a dedicated 20-amp circuit, and in one kitchen where the only free outlet sat behind the refrigerator. The problems are always the same three: not enough counter depth, water that tastes like a swimming pool, and a grinder that cannot grind fine enough for a real basket.
I also own the mistakes. The machine graveyard in my garage exists because I bought on features instead of workflow. Pressure profiling, pre-infusion presets, digital displays, none of it rescued a shot that started with a bad grind. My rule for anyone who asks is simple: show me the shot, not the sticker. Crema is decoration. Taste is the test.
What to buy before the machine
Grinder first. Water second. Scale third. Machine fourth. Buying out of order is how people end up with two thousand dollars of hardware and a cupboard full of beans they cannot use.
The grinder is the machine that matters. Espresso needs a grind fine enough to create resistance against nine bars of pressure, and the difference between a shot that gushes in twelve seconds and one that drips through in thirty is often a fraction of a turn on the adjustment collar. A blade grinder cannot do this, no matter what the listing says. Look for a burr grinder with stepless or very fine stepped adjustment. If you take one thing from this article, take this: a five hundred dollar machine with a three hundred dollar grinder beats a two thousand dollar machine with a fifty dollar grinder, every single time.
Water is the silent variable. The old roaster who taught me this used to say you are brewing with water that happens to contain coffee. If your tap water tastes like chlorine or leaves a crust in the kettle, it will do the same inside your boiler. Filtered water, or a low-scale bottled water, is not a luxury. A machine that needs descaling every two weeks is a machine you will quietly stop using by spring.
A scale that reads to 0.1 grams. You cannot repeat a shot you cannot measure. Grams in, grams out, seconds on the clock. Everything else in this workflow depends on that number being real.
Then the machine. By now you know whether you want to learn a craft or just want coffee before your first meeting, and that answer decides which of the two machines below belongs on your counter.
The two machines worth your counter space
Two very different answers here, and the right one depends entirely on what you want your mornings to look like. Neither is a compromise pick. They solve different problems.
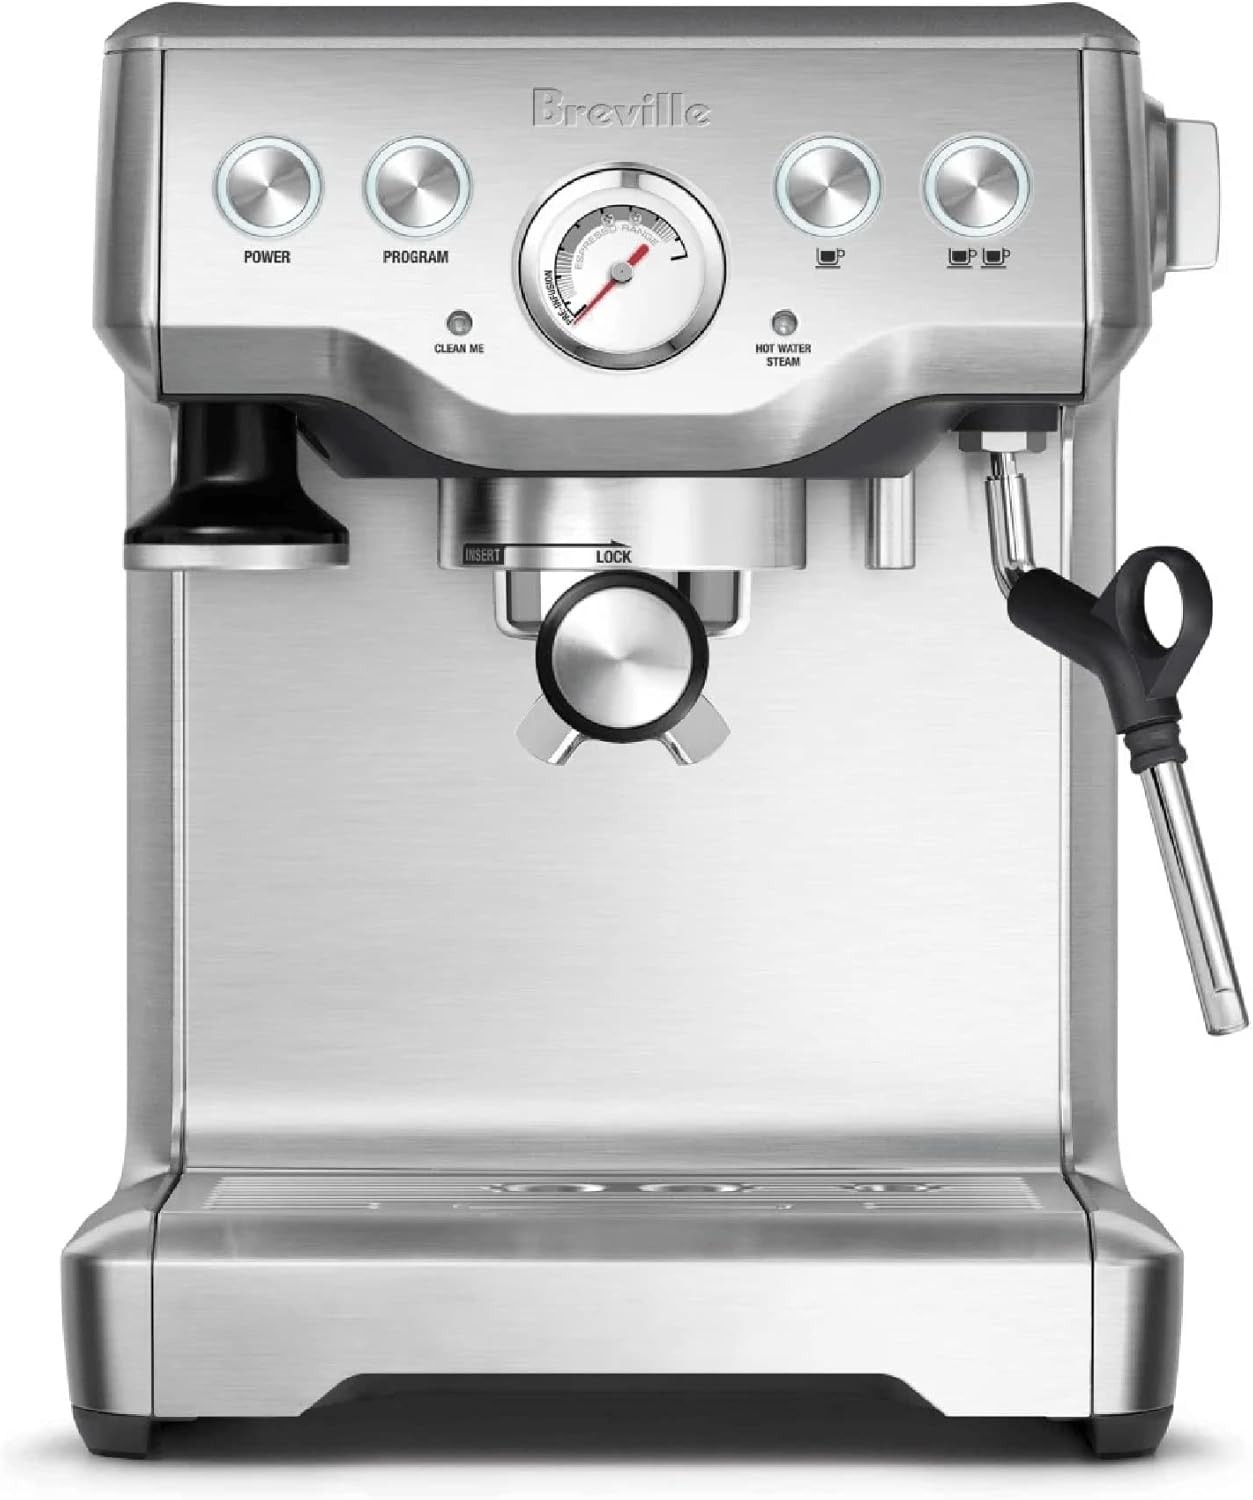
The hands-on pick: Breville BES840XL Infuser Espresso Machine, Brushed Stainless Steel
 Visit on Amazon →
The Infuser is the machine I recommend to people who want to learn. It is a semi-automatic, which means you grind, you dose, you tamp, and you pull the shot yourself. Temperature control runs through a PID, and temperature stability is the feature you feel on every single shot, not just the ones you photograph. There is a low-pressure pre-infusion that wets the puck gently before full pressure arrives, which makes the first seconds of the shot far more forgiving while you are still learning to distribute evenly.
The basket is 54mm rather than the professional 58mm standard. That means a slightly thinner puck and a little less margin for error when your distribution is sloppy, but it is a real basket and a real portafilter, not a pressurized crutch that hides stale beans and a bad grind. What you get in exchange: a steam wand that can actually texture milk, a hot water spout for americanos and for warming cups, and a footprint that slides under standard upper cabinets. Check current Amazon price.
Flaws but not dealbreakers: The 54mm basket is the honest compromise here, and third-party accessories are thinner on the ground than they are for 58mm machines. It is also a single-boiler design, so there is real dead time between pulling a shot and steaming milk. If you make two lattes back to back every morning, you will feel that wait in your routine.
Anyone who wants to learn the craft and is willing to spend three or four shots dialing in a new bag of beans will get years out of this machine.
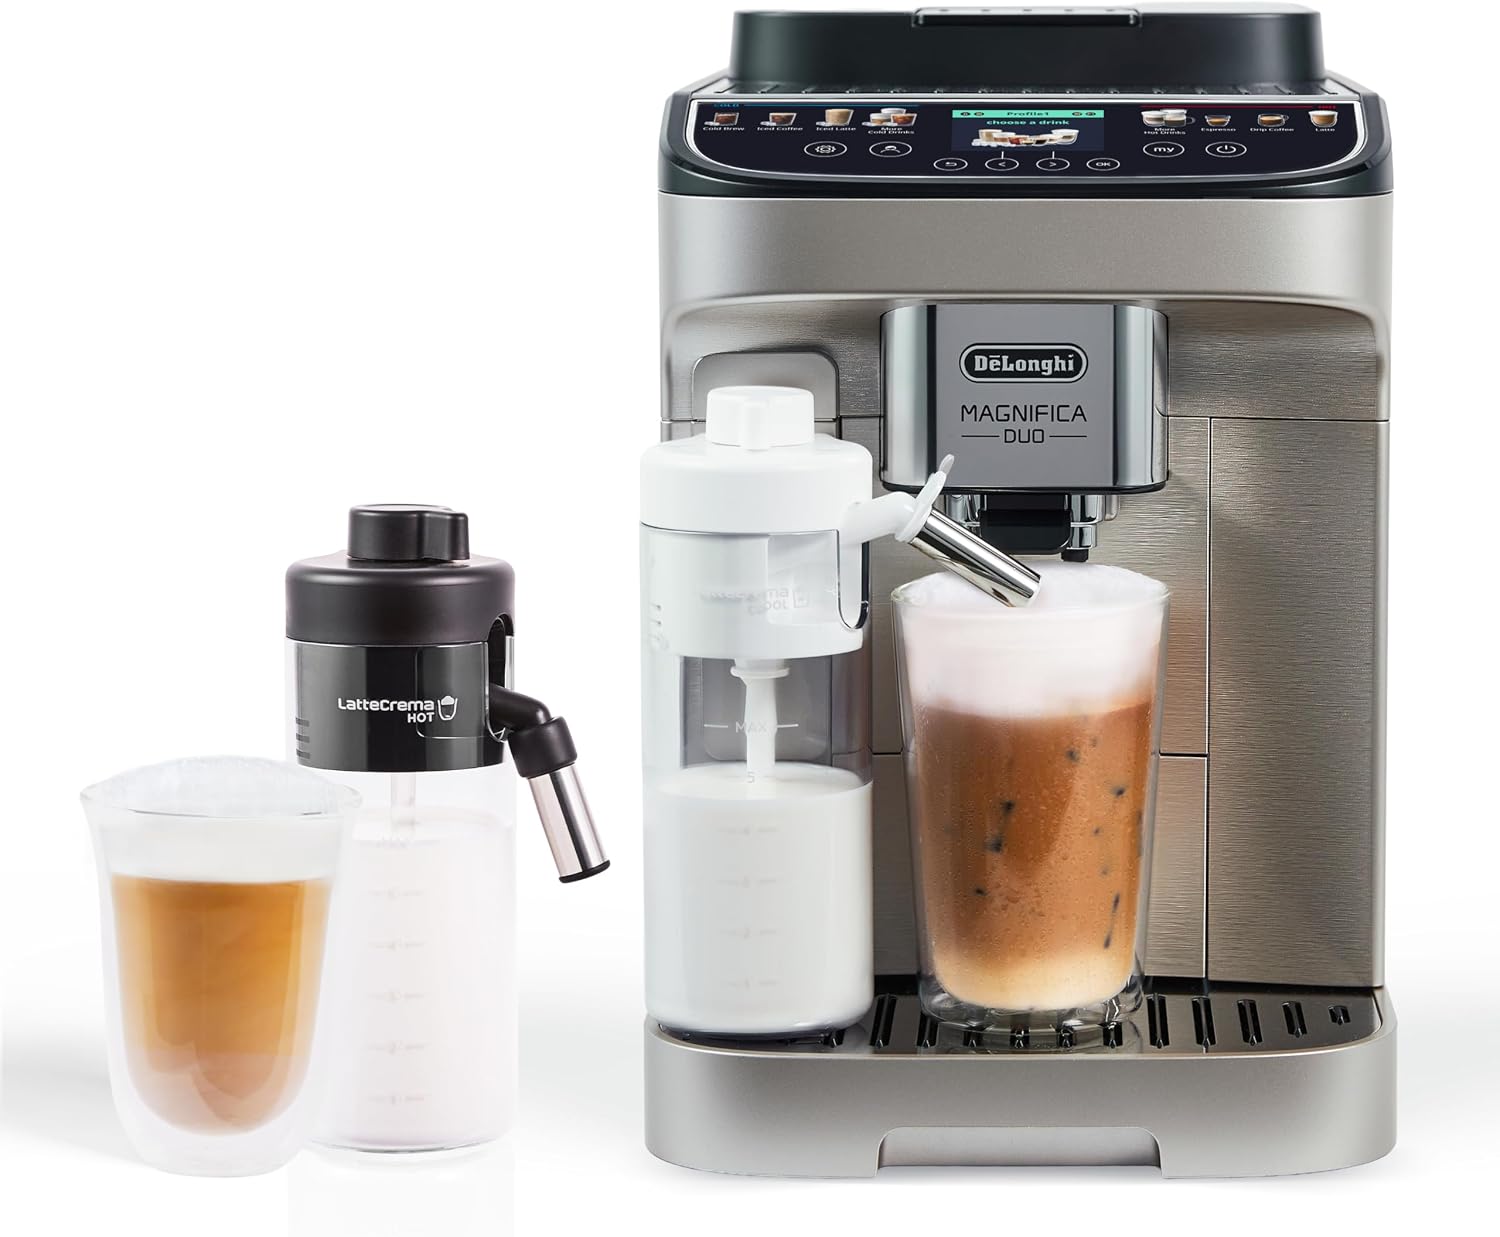
The hands-off pick: De'Longhi Magnifica Duo Automatic Espresso Machine, Milk Frother, Silver
 Visit on Amazon →
If you want coffee before you want a hobby, this is the other answer. The Magnifica Duo is a super-automatic: beans go in the hopper, the built-in grinder does the work, and you press a button. Milk frothing is integrated rather than a separate wand you have to learn, so a cappuccino is a single action instead of a five-minute performance. For a household where two or three people make coffee at different times of the morning, that matters more than any spec sheet.
The trade is control. You are not adjusting dose and grind shot by shot with the same precision you get on a semi-automatic, and the built-in grinder is fine rather than exceptional. What you buy instead is a workflow that survives month three, which is more than most manual setups manage. Check current Amazon price.
Flaws but not dealbreakers: You cannot easily single-dose fresh beans, so you are committing to keeping the hopper loaded and drinking through a bag before it goes flat. The cleaning routine matters more than it does on a manual machine, because milk residue and old grounds live inside the brew group. Follow the rinse cycle and it stays pleasant. Skip it for a week and you will taste why.
Anyone who wants one-touch drinks, has counter space to spare, and would rather not think about puck prep at 6:40 a.m. should look here first.
The actual setup and dial-in workflow
Now the part you came for. This works on any machine with a real portafilter and a burr grinder, including both machines above.
Step one: Sort the water. Fill the reservoir with filtered water. If you have hard tap water, do not skip this because you are impatient to pull a shot. Scale is the number one killer of home machines, and it is entirely preventable.
Step two: Check clearance and power. Measure the space above the machine with the hopper or the lid open, because you will need to fill it. Make sure the machine is on a circuit that is not sharing with a microwave or a kettle. A machine that browns out mid-shot is a machine that pulls inconsistent shots.
Step three: First fill and flush. Run water through the group with no coffee in the basket, and run the steam wand for a few seconds. This clears manufacturing residue and gets the boiler up to temperature. Dump the first reservoir of water if the manual tells you to.
Step four: Set the grinder coarse, then walk it finer. Start noticeably coarser than you think you need. Pull a shot. If it gushes out in ten seconds, go finer. Repeat. You are looking for a grind where the pump is working against real resistance without choking.
Step five: Dose, distribute, tamp level. Weigh the dose into the basket, break up any clumps, and tamp straight down with even pressure. Level matters more than force. A tilted tamp produces a tilted puck and a shot that channels down one side.
Step six: Pull the shot against a scale. Put a scale under the cup. Aim for roughly twice the weight of your dose in the cup, in roughly 25 to 30 seconds, as a starting point. If you are running 18 grams in, you are looking for about 36 grams out. Do not chase the clock. Chase the taste, and use the clock to make it repeatable.
Step seven: Taste, then adjust one thing. Sour and thin means under-extracted, so grind finer. Bitter, dry, and harsh means over-extracted, so grind coarser. Change the grind before you change anything else, and change only one variable at a time. Random adjustments are how people spend a whole weekend making bad coffee.
Step eight: Steam last, and clean immediately. Purge the wand before you steam so you are not injecting water into the milk. Wipe the wand the second you finish, because dried milk is a chisel job. Steam after the shot, never before, or you will be pulling your espresso through a boiler that just ran flat out.
Step nine: Build a daily routine. Flush the group before your first shot. Backflush weekly if your machine supports it. Descale on the schedule your water quality demands, not the one on the box. Ten seconds of maintenance a day is the difference between a machine that lasts five years and one that starts leaking in year two.
The competition and why it lost
The Gaggia Classic Pro is the best budget modder's dream, and with a cheap over-pressure valve spring it punches well above its price. The stock steam wand is weak, though, and the machine rewards tinkering more than it rewards patience. It is a fantastic second machine and a frustrating first one.
The Rancilio Silvia is the best first serious machine, bombproof, with parts available forever. But the single boiler means you wait for steam, and that dead time is where a lot of morning workflows quietly die.
The Breville Barista Express is the best all-rounder for beginners. The built-in grinder is mediocre but workable, and the learning curve is gentle. If you want one box and one cord, it is a legitimate answer. I still prefer a separate grinder, because when the grinder is the weak link you can replace the weak link.
The De'Longhi Dedica is the best tiny footprint pick. It is a compromise, but a smart one for a counter that has no room for anything else.
The ECM Synchronika is the endgame, dual boiler, rotary pump, temperature stability you could set your watch to. It is also for people who have outgrown the hobby stage and know exactly what they want. Buying it as a first machine is like buying a race car to learn to drive.
None of these are on the list above because this is a setup guide, not a roundup. Two machines, two workflows, one decision.
What this all costs
The honest math is about ratios, not totals. Budget your grinder at roughly half of what you spend on the machine, and you will end up with a setup that punches above its class. Spend everything on the machine and nothing on the grind, and you will drink worse coffee than the diner down the street.
Beyond the two big items, expect a scale, a tamper that actually fits your basket, a knock box or a cheap knock alternative, a milk pitcher, and a descaling routine. Those are small line items individually and they are the difference between a station that works and a pile of gear on the counter. The one recurring cost is beans. Fresh beans, roasted within the last few weeks, from a roaster who puts a date on the bag. Stale beans make every machine on this page taste the same, and they make dialing in impossible because the grind you nailed yesterday is wrong today.
Check current Amazon price on both machines before you commit, then pick the workflow you will actually keep. That is the whole test. Not the Sunday morning version of you with time to spare and a fresh bag of beans, but the Tuesday version, half awake, wanting a coffee in ninety seconds. Buy for that person and you will still love the setup in month three.