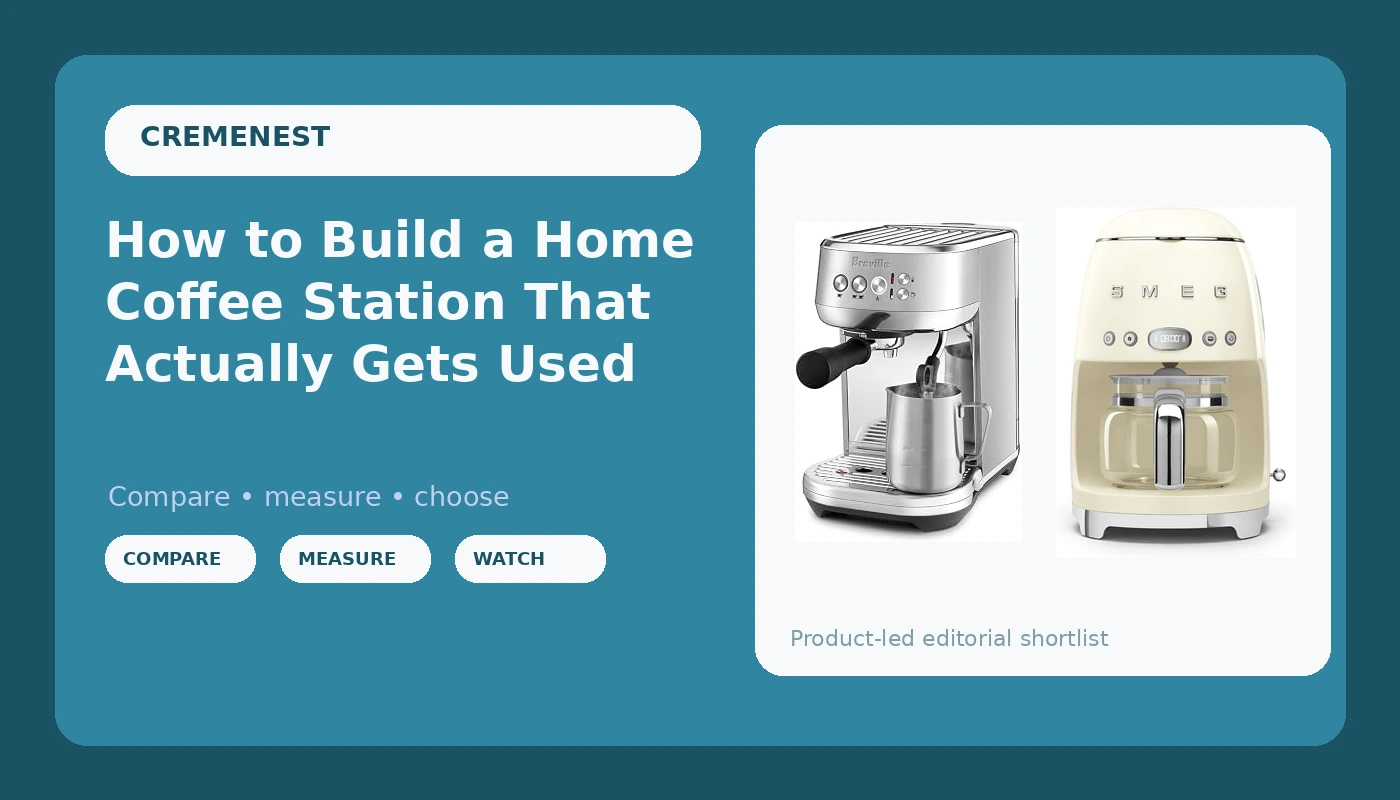
Most people build a home coffee station setup backwards. They buy the machine first, plug it in beside the toaster, and spend the next three months fighting a workflow that never fit their mornings. I have watched friends do it with machines that cost more than my first car and a blade grinder that turned every shot into a lottery ticket.
The station is the thing. Not the machine. A home coffee station setup is a layout, a sequence, and a small set of habits that carry you from "I want coffee" to "I have coffee" without a single decision in between. Get that right and a modest machine makes better coffee than a great machine stuck in a bad corner of the kitchen.
This guide is about building the station in the right order, and about the two machines that cover almost every household: one for the single shot you actually want, and one for the carafe you need when four people walk into the kitchen at the same time.
Why you should trust me
I pulled shots behind a bar in Seattle for twelve years and managed a third-wave coffee bar before I moved into home espresso consulting. Somewhere north of 40,000 shots, if the logbooks are to be believed. I have set up stations for friends, family, and two small cafes, and I keep a machine graveyard in the garage: the Breville that leaked, the Gaggia I modded into something unrecognizable, and an ECM that is still going.
What that taught me is boring and consistent. The grinder is 70% of the shot. A $500 machine with a $300 grinder beats a $2,000 machine with a $50 grinder, every time. And most people buy the machine long before they understand the workflow they are actually going to keep.
How I picked and how I tested
I do not judge a machine by the sticker or the spec sheet. I judge it on four questions: what the real boiler setup is once the marketing is stripped away, whether the basket is pressurized by default, how long the dead time runs between brewing and steaming, and whether I would still enjoy using it in month three.
That last question kills more machines than anything else. A station that is fussy on a Tuesday morning gets abandoned by Friday, and an abandoned machine is the most expensive appliance in the house.
I also judge the station as a whole. Almost every "which machine should I buy" question I get is really a layout question in disguise. If one person in the house drinks flat whites and another drinks three mugs of drip before 8 a.m., a single-machine station fails half the household no matter how good that machine is. So this guide covers two machines: an espresso machine for the crafted drinks and a drip machine for the carafe.
On method, full disclosure: I evaluate machines against the criteria above and I read what verified owners report after months of daily use. I do not print a score for a machine I have not lived with, and I do not quote a measurement I have not taken myself.
The two machines that make the workflow work
Two machines sounds like twice the counter space and twice the maintenance. In practice it is the opposite. The espresso machine stops being the only tool in the house, so it stops being asked to do the one job it was never good at, which is making twelve cups at once while you stand there refilling a reservoir.
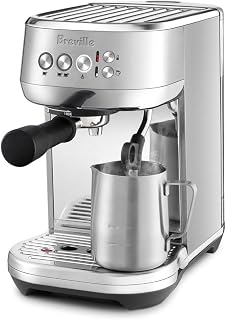
The espresso half: Breville BES500BSS Bambino Plus Espresso Machine, Brushed Stainless Steel
 Visit on Amazon →
This machine sits at the front of the station, closest to the grinder, because that is where you will stand every morning. It is a compact single-group home espresso machine in brushed stainless steel, which matters more than it sounds. Stainless wipes clean in ten seconds, and a station that looks dirty stops getting used. The finish is also the reason this machine can live on an open counter instead of behind a cabinet door, and a machine behind a cabinet door is a machine you will stop using.
Its role in the station is narrow on purpose: it pulls the one or two drinks a day you actually care about, and it does that without asking you to rebuild your morning around it. Buy it for the espresso drinker in the house, and let the drip machine handle the volume.
Flaws but not dealbreakers: Compact machines in this class mean a smaller reservoir and a smaller drip tray than a full-size machine, so you will empty and refill more often. If you are pulling eight drinks a day, that cadence becomes a chore and you should be looking at a larger machine.
Anyone who wants a real espresso workflow on a normal kitchen counter, and who is willing to buy a proper grinder to go with it, will get years out of this one.
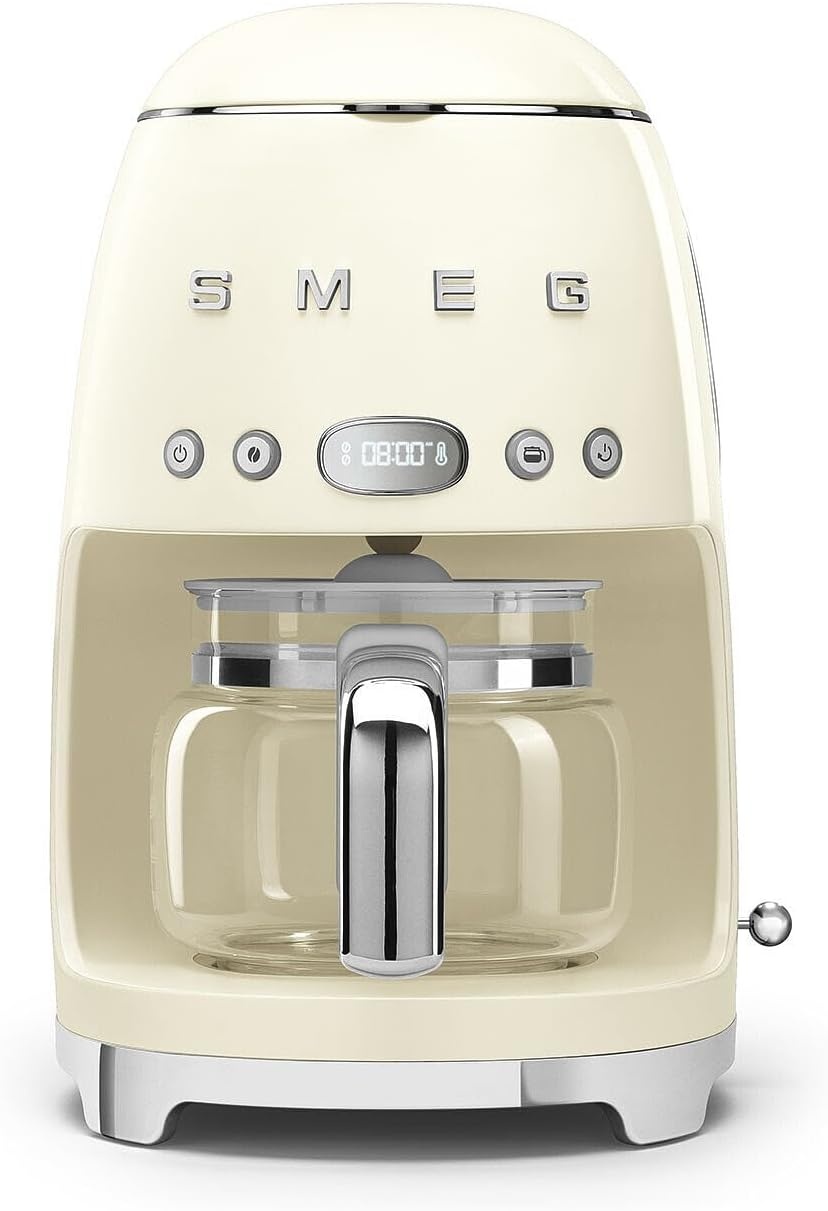
The batch half: Smeg 50's Retro Style Aesthetic Drip Coffee Machine with 10 Cup Glass Carafe, Auto Start Feature, Keep Warm Plate, and Two Coffee Strength Settings (Cream)
 Visit on Amazon →
This is the machine that saves the espresso machine. A 10 cup glass carafe with an auto start feature means you load it the night before and wake up to coffee already made, which is the single biggest workflow upgrade in the whole station. Nobody wants to dial in a shot at 6:15 a.m. while a toddler is screaming. You want to pour.
The keep warm plate handles the second cup at 9 a.m. without a trip back to the kitchen counter, and the two coffee strength settings give you one dial to move when you switch beans. Pick a setting and leave it there. The cream finish is not a small detail either: on an open counter, the machine you like looking at is the machine that stays out and gets used.
Flaws but not dealbreakers: A glass carafe means you cannot take the whole pot to the couch, and it will not hold heat the way a thermal carafe does. Drink it within the warm window or brew a smaller batch.
Anyone feeding a household, an office kitchen, or a house full of guests should start here and let the espresso machine stay a treat instead of a utility.
The actual workflow: setting up the station in one afternoon
Step one: pick the wall before you pick anything else. The espresso machine needs an outlet it does not share with the microwave, and it needs clearance above it. Steam rises, and a machine jammed under a low cabinet will soak the underside of that cabinet within a month.
Step two: place the grinder between the two machines. Not in a cupboard. Not on a shelf. If the grinder lives behind a door, you will be using pre-ground coffee by week three, and pre-ground coffee in an espresso machine is the fastest way to convince yourself the machine is broken.
Step three: deal with your water. Taste your tap water in a glass. If it tastes like a swimming pool, filter it. Water makes or breaks a shot, and it is also what scales your machine, so the cheapest upgrade in the entire station is a pitcher filter.
Step four: dial in the espresso side before you invite anyone over. Same beans, same dose, and adjust only the grind until the shot tastes sweet instead of sour or ashy. Give it three days of small changes. Do not change beans and grind at the same time or you will learn nothing.
Step five: program the drip side at night. Load the basket and the carafe before bed, set the auto start, and choose your strength setting. This is the step that makes the station feel like it runs itself.
Step six: steam last, and clean the wand immediately. Texture your milk after the shot, not before, and wipe the wand within thirty seconds of finishing. Steam wands are the first thing to fail on a neglected machine, and a wand that cannot texture milk properly turns a flat white into hot milk with foam on top.
Step seven: set a cleaning cadence you can actually keep. Flush the group daily, wipe the drip tray, and descale based on how hard your water is rather than on a calendar reminder. If you are descaling every two weeks, your water is the problem, not the machine.
Step eight: stop adjusting. Month two is when people start chasing. Pick a bean, pick a grind, and hold it for two weeks before you change anything. Consistency is what separates a station from a hobby.
The mistakes that ruin a good station
Pressurized baskets used as the default setting. They are a crutch that hides stale beans and a bad grind, and you will never learn what your machine can do while one is installed.
Buying the machine before the grinder. This is the single most common mistake I see, and it is the most expensive one, because the fix is another purchase rather than an adjustment.
Putting both machines on one circuit with the kettle. You will trip a breaker mid-shot, and you will blame the machine.
No water plan. Two machines means two reservoirs and twice the scale. Filter the water once, at the pitcher, and both machines benefit.
Upgrading the machine when the problem is the grinder. If your shots are inconsistent, the burrs are almost always the answer.
What this all costs
The honest budget order is grinder, then espresso machine, then the batch brewer, then accessories. A real burr grinder is not optional, and it is the one place where spending more changes what is in your cup rather than what is on your counter.
The two machines in this guide cover the two jobs a household actually has, and current pricing for both is on Amazon through the links above. Beyond that, budget for a scale, a tamper that fits your basket, and a water filter. Those three items cost less than a mid-range grinder and they do more for shot quality than any machine upgrade you can make at this level.
The math that matters is not the sticker. It is cost per day over the years you own the setup, against what you were spending at the cafe on the way to work. Most people who build a station like this stop buying coffee out within two months, and the machines outlast that math by a wide margin.
The bottom line
Build the station, not the shopping list. Put the grinder where you will actually use it, put the espresso machine where you will actually stand, put the drip machine where it can run while you are still asleep, and give the whole thing three weeks before you judge it.
The machine you keep is the machine that fits your Tuesday, not the one that fits your idea of a Sunday morning. Set it up once, in the right order, and then leave it alone and drink your coffee.